
all bulkheads were cut for us at
swallow boats in cardigan, a bit less than an hour drive from our shed.
they balance nicely between well thought, modern and cost effective boat building and classic looking boats made for sailing.
had them cut by a cnc router saved a lot of time and we now have really precise cut bulkheads. all it needed was cleaning up the slightly rough edges and figuring out how the finger joints in the bigger bulkheads would slide together. ..
I hope we can trust the computers who did a lot of work for us and everything is fair and in the right place when the bulkheads are set up...

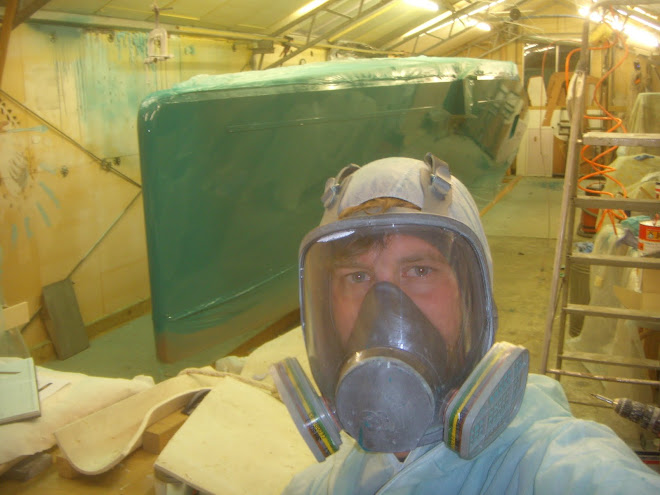
on the three bulkheads you can see on the picture above. i tried out an epoxy system commonly used in surfboard building called
resin research and is distributed in the uk by
seabase in cornwall. according to their website, the resin has:
· lower toxicity
· lower exotherm
· longer pot file
· shorter set times
· lower vapour
· better colour
· better colour stability (UV stability for brightwork)
· better strength
· etc.
we still had some leftovers of the widely used and time proven west system resin. so i made a mix of WS as well to compare it with the RR resin.
i was interested in ease to work, gelling time, pot life, efficiency, etc.
when we have used the resin a bit more, i will post more details on our experiences.
so far i can say that the RR resin is a bit more viscous compared to west system what made it easier to use it with a roller sponge and gave a better finish. it is clearer in colour and doesn't seem to give out a lot of vapours so its smell is much less aggressive than WS epoxy. the RR epoxy had a shorted gelling time than the WS but had a longer pot life and was less exothermic when going of in the mixing cup. it must be said though, that we used the slow hardener on WS and the standard hardener on RR.


 all bulkheads were cut for us at swallow boats in cardigan, a bit less than an hour drive from our shed.
 on the three bulkheads you can see on the picture above. i tried out an epoxy system commonly used in surfboard building called resin research and is distributed in the uk by seabase in cornwall. according to their website, the resin has:
 we did two coats on the black bottom and the transom first, removed the masking tape and did the topsides. there it didn't matter if we were dripping or painting on the black bottom as it will be covered up by the glass laminate on the inside and shouldn't be seen through the black gelcoat to the outside.
 we used PU-glue to fix the crosspieces to the floor first but to make it a rigid structure we will drill additional long screws into the concrete floor. last thing we want is a moving strongback.
 That's what the seams looked like after the first pouring of the glue.
 The heatgun was also quite handy when cleaning up after the pouring. In our opinion it was easier to pour more glue into the seams than needed to make sure it is filled. That created a ridge on top of all the seams which needed to be taken off. Just heating it up with the heatgun and then slicing it off with a spatula or an old plane blade worked quite well. It gives a finish like on the picture above on the covering board seam.
 Here you can see how it looked after the second pouring using heatgun and the small metal container.
 And slowly it starts to look nice...


